How to Style a Trinket Shelf in 7 Steps Without Making It Feel Cluttered
Style a trinket shelf with a thoughtful edit, varied heights, useful breathing room, and an easy rotation system.
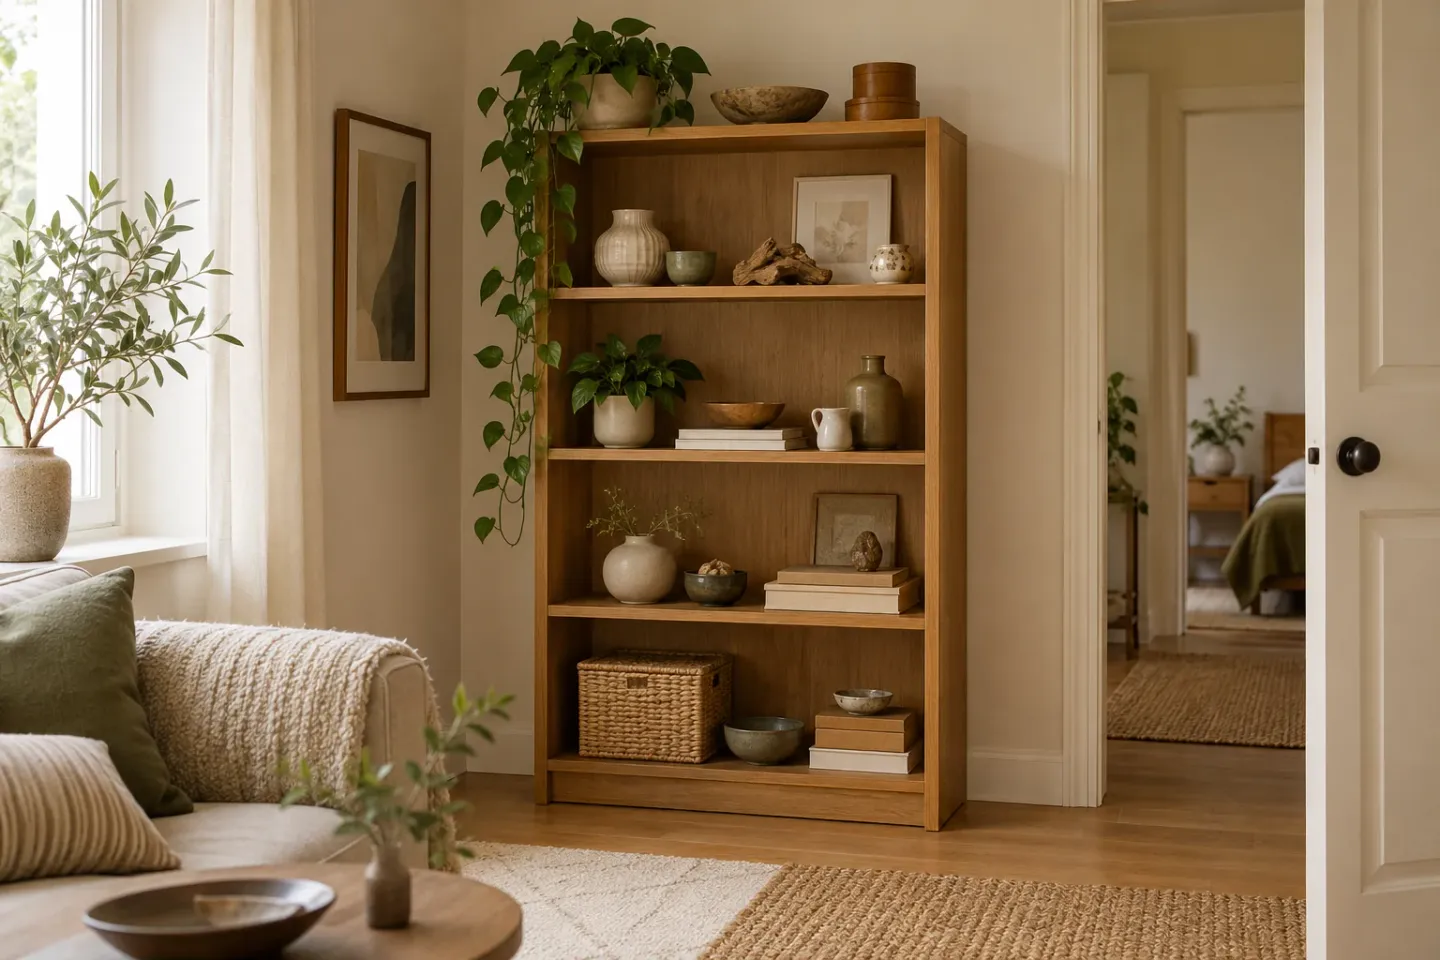
A trinket shelf can make an apartment feel personal without crowding every surface. The goal is to give a few meaningful objects a clear relationship and enough room to be seen. Start with pieces you own, choose a suitable shelf, and create a display you can maintain. These seven steps suit a bookcase bay, freestanding unit, or existing wall shelf.
Before you rearrange: a practical checklist
Practical measurement checklist
- Record usable shelf width, depth, and clear height, allowing for panels, trim, and brackets.
- Measure each object’s widest, deepest, and tallest points, including stands and bases.
- Mark the shelf footprint on a table with low-tack tape, tested first; arrange pieces within it, then check actual shelf views.
- Note door swings, walkways, and frequently reached-for items; keep the display clear of their paths.
- Add object, book, and tray weights; check the rated load and shelf and fixing manufacturers’ instructions.
- Measure the rotation box and its intended cupboard space.
Compare the options
| Display choice | Best when | Tradeoff to consider |
|---|---|---|
| Large anchor and small pieces | You want a calm focal point | The anchor takes more shelf space |
| Tray of keepsakes | Tiny objects need grouping and easier dusting | The tray adds weight and needs space around its edges |
| Books as backdrop or riser | Suitable books are already available | Stacks must be stable and can hide short pieces |
| Rotation box | More meaningful objects exist than fit | Dry storage and swapping time are needed |
| Existing bookcase bay | You want to avoid wall installation | Check stability, load rating, and fit |
1. Start styling a trinket shelf by editing one theme
Gather possible display pieces on a table, including useful companions such as a tray, book, or shallow dish. Choose a loose connection—travel mementos, handmade ceramics, related colors, or a shared material—without demanding perfect matches. Separate sentimental value from display readiness: a fragile keepsake need not sit at the front, and a postcard may work better framed than propped loosely. Set aside damaged, unstable, or oversized pieces, and select one representative when several objects tell the same story. Store the rest for rotation; photograph the full collection first if you want a reminder of what you own.
2. Choose one shelf
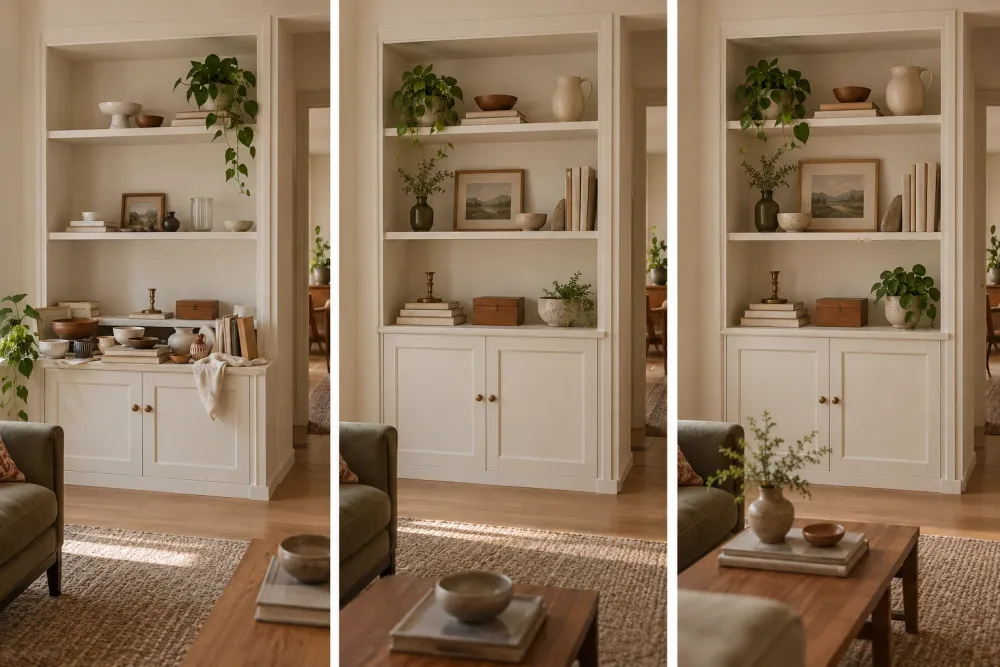
Begin with one shelf or bookcase bay rather than scattering objects throughout the room. A position near seated eye level reveals small details, while a higher shelf suits larger, clearly shaped pieces; avoid putting delicate items near swinging doors, busy walkways, or frequently used cabinets. Check usable dimensions, the shelf’s load rating, and the combined weight of your choices, remembering that books, stone, and ceramics add up. For a new shelf, follow manufacturer mounting instructions, select suitable wall fixings, and check your lease. Removable mounts are not automatically damage-free or suitable for load-bearing shelves; a stable existing bookcase may be simpler for renters.
3. Place the largest item first
Choose a substantial object as your anchor, such as a vase, framed print, sculptural bowl, or short horizontal stack of books. Place it slightly off-center and step back to judge its relationship to the shelf edges and furniture below; centering can also work in a symmetrical room. Make sure the anchor sits fully on the shelf, cannot easily be knocked by a door or passing arm, and rests on a sturdy surface rated for its weight. Do not lean an unsecured frame where it could slide. If the anchor consumes all the visible surface, choose a smaller piece or give it a shelf of its own.
4. Mix heights
Add objects at different heights to guide the eye across the shelf: try a tall vase toward the back, a medium frame or upright book nearby, and a low bowl in front. Contrast shapes as well, pairing rounded forms with rectangular books or a slim piece with substantial ceramics. A book stack can raise an object only when both the stack and the object sit securely. Check the arrangement from the places where you use the room, moving a hidden low piece forward or elsewhere. Avoid a rigid staircase of heights so a favorite remains visible without every object competing for attention.
5. Leave negative space
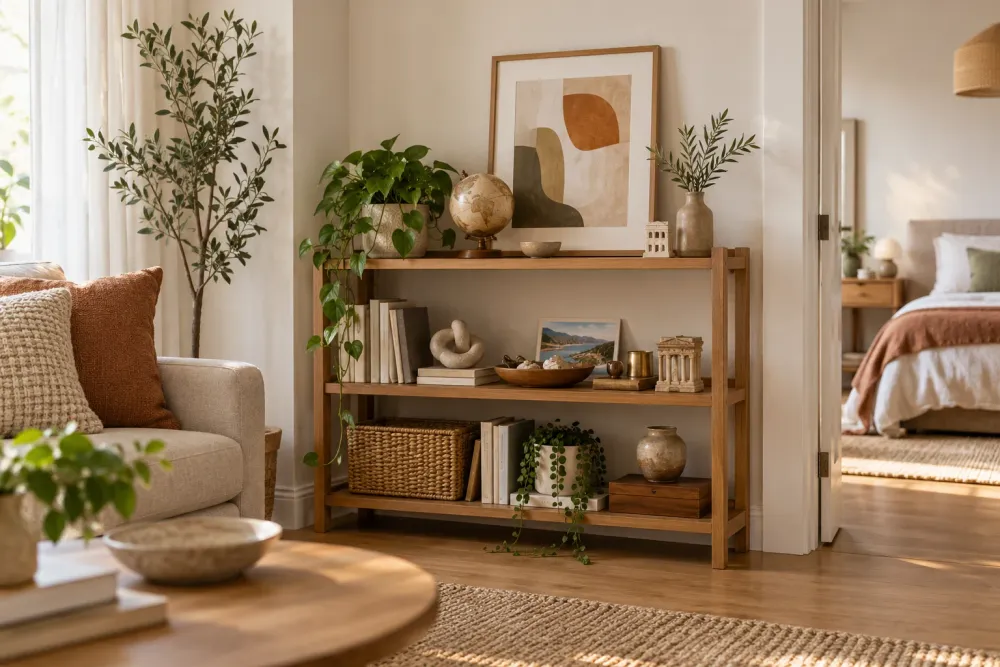
Treat exposed shelf surface and the wall behind it as parts of the display. After placing the anchor and a few companions, remove an item or two and see whether the remaining pieces are easier to distinguish. Leave visible gaps between groupings and breathing room at the ends, adjusting to the shelf and objects rather than following a fixed formula. Check from a normal viewing distance: tiny objects in every gap can create one continuous row. Empty space also accommodates a new find temporarily, but do not operate a heat appliance inside a cabinet or cart; keep its operating surface open and follow manufacturer instructions.
6. Group small objects
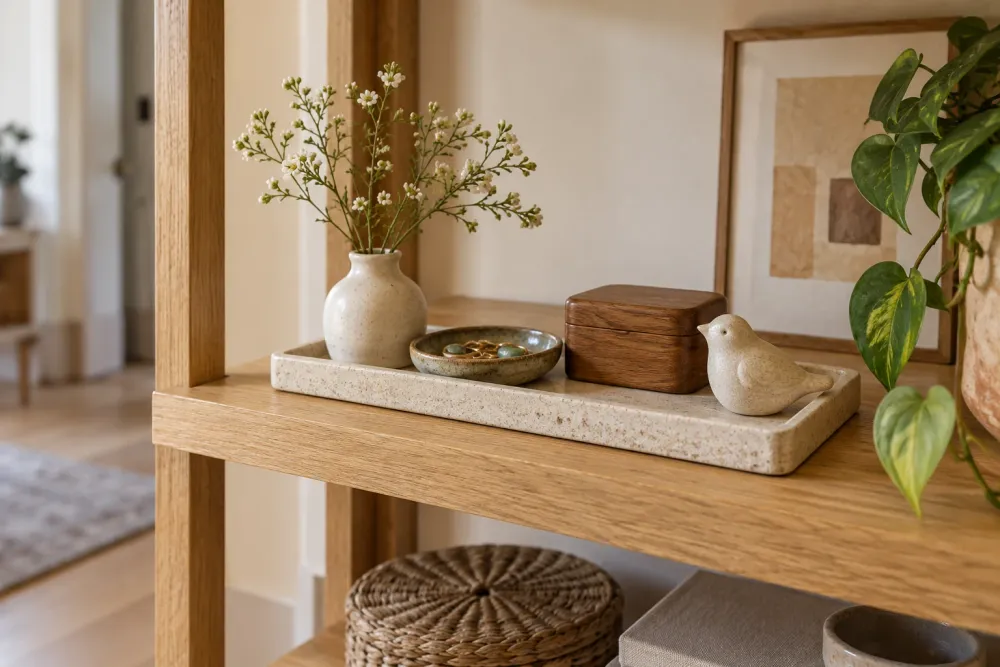
Bring the smallest pieces together so they read as a collection rather than scattered dots. A shallow tray, dish, or box lid can define the group; choose a flat, stable base and leave some of it visible between the objects and around the edges. Keep delicate or easily tipped pieces away from the shelf front and from hands reaching for books. A tray makes dusting easier because the group can be lifted together, but it adds weight and depth; if it makes the display cramped, group the pieces directly on the shelf instead. Store only dry supplies inside cabinets or carts.
7. Photograph and rotate
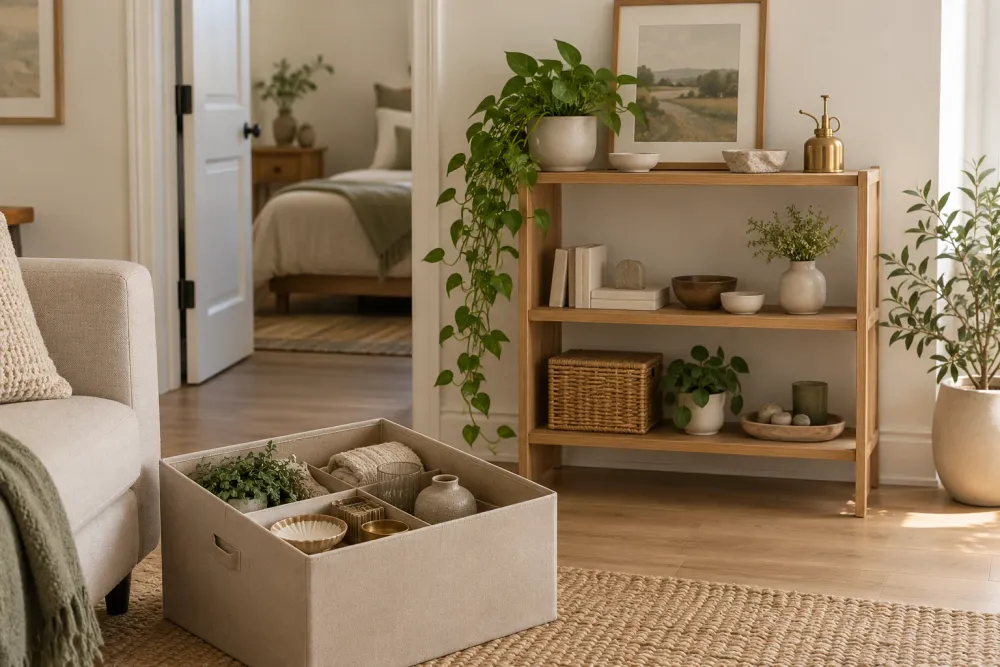
Photograph the display from the room’s main viewpoint and examine the image at a small size. Look for an overly heavy-looking side, a dark object lost against the background, or a cluster that reads as one indistinct shape; move one piece at a time rather than chasing perfect balance. Keep edited-out objects in a labeled, dry box, wrapping fragile pieces separately so they cannot knock together. When the display feels stale, swap one or two objects instead of adding more. Recheck stability and the shelf’s load rating after each change, keeping the everyday arrangement manageable to clean and leaving room for sentimental favorites.
Your first refresh
Clear the shelf and wipe it according to the finish manufacturer’s care instructions. Lay out the current objects and rotation collection, then choose a theme or color connection. Replace the largest piece, add contrasting heights, and group small items securely. Step back, remove anything that obscures the display, and photograph it from your usual seat. Pack remaining pieces separately in a labeled box. Finally, check for overhangs, wobbling, and excess weight.
Questions before you start
How many trinkets should I put on one shelf?
There is no fixed number: shelf size and object scale matter. Start with an anchor and a small grouping, leaving enough visible surface to distinguish individual pieces. If the arrangement reads as a solid line from your seat, move some objects into your rotation box.
How can I style a shallow shelf without things falling?
Measure usable depth and each object’s full base, including any frame stand. Choose pieces that sit completely on the shelf, keep them away from the front edge, and avoid tall objects that wobble. Use a tray or frame elsewhere if it cannot fit securely without overhanging.
Can books and trinkets share the same shelf?
Yes. Use a short upright row as a backdrop or a stable horizontal stack beneath an object. Leave a gap around the grouping, include the books when checking the shelf’s load rating, and keep frequently used volumes easy to remove without disturbing fragile keepsakes.
How do I add a new keepsake without overcrowding the shelf?
Replace an existing object instead of adding another layer. Photograph the arrangement with each option and choose the version in which the pieces are easiest to distinguish. Put the other object in your rotation box, and keep frequently used books accessible without disturbing fragile items.
Keep planning your space
For the rest of the room, explore cozy small living room ideas or create a companion small reading nook. If your display needs a wall-mounted backdrop, start with these renter-friendly wall decor ideas and check your lease before installing anything. Choose an approach that suits your space and its existing furniture.