7 Small-Space Craft Corners You Can Pack Away
Create a craft corner that packs away neatly with seven practical setups for dining tables, cabinets, carts, baskets, and desks.
A craft corner does not need a dedicated room or permanent table. Give your current project a working surface, a storage home, and a pack-away routine that fits your day. These seven setups suit different crafts and spaces, from a dining-table tray to a desk drawer kit. The images are illustrative decorating concepts, not photographs of real renovations. Measure before choosing containers.
Before you rearrange: a practical checklist
Practical measurement checklist
- Identify the largest project piece, tools, and working surface needed.
- Mark the working footprint, including seating, and test doors, drawers, walking routes, and exits. Check that any low-tack tape suits the floor and remove it as directed.
- Measure the packed kit, including handles, wheels, lids, and protruding contents, against both the storage space and its opening.
- Check doorways and turns along the route; try lifting or rolling an equivalently sized empty container.
- Verify load ratings, installation instructions, and lease permissions.
Compare the options
| Setup | Best for | Tradeoff | Key check |
|---|---|---|---|
| Dining-table tray | Portable project | Clear table for meals | Loaded tray fits and carries comfortably |
| Dry-supply cart | Supplies used in multiple spots | Needs parking space | Route and turns accommodate cart |
| Cabinet shelf | Out-of-sight storage | Separate work surface needed | Opening and shelf capacity |
| Knitting basket | Work near seating | Less protection for fragile pieces | Standing and walking clearance |
| Fold-away surface | Larger work area | Setup or approved installation | Open and folded footprints |
| Lidded project box | Unfinished project | Supplies can be forgotten | Largest piece fits; lid closes |
| Desk drawer kit | Small tools and short sessions | Limited capacity | Dividers fit and remain reachable |
1. Dining-table tray kit for a small-space craft corner
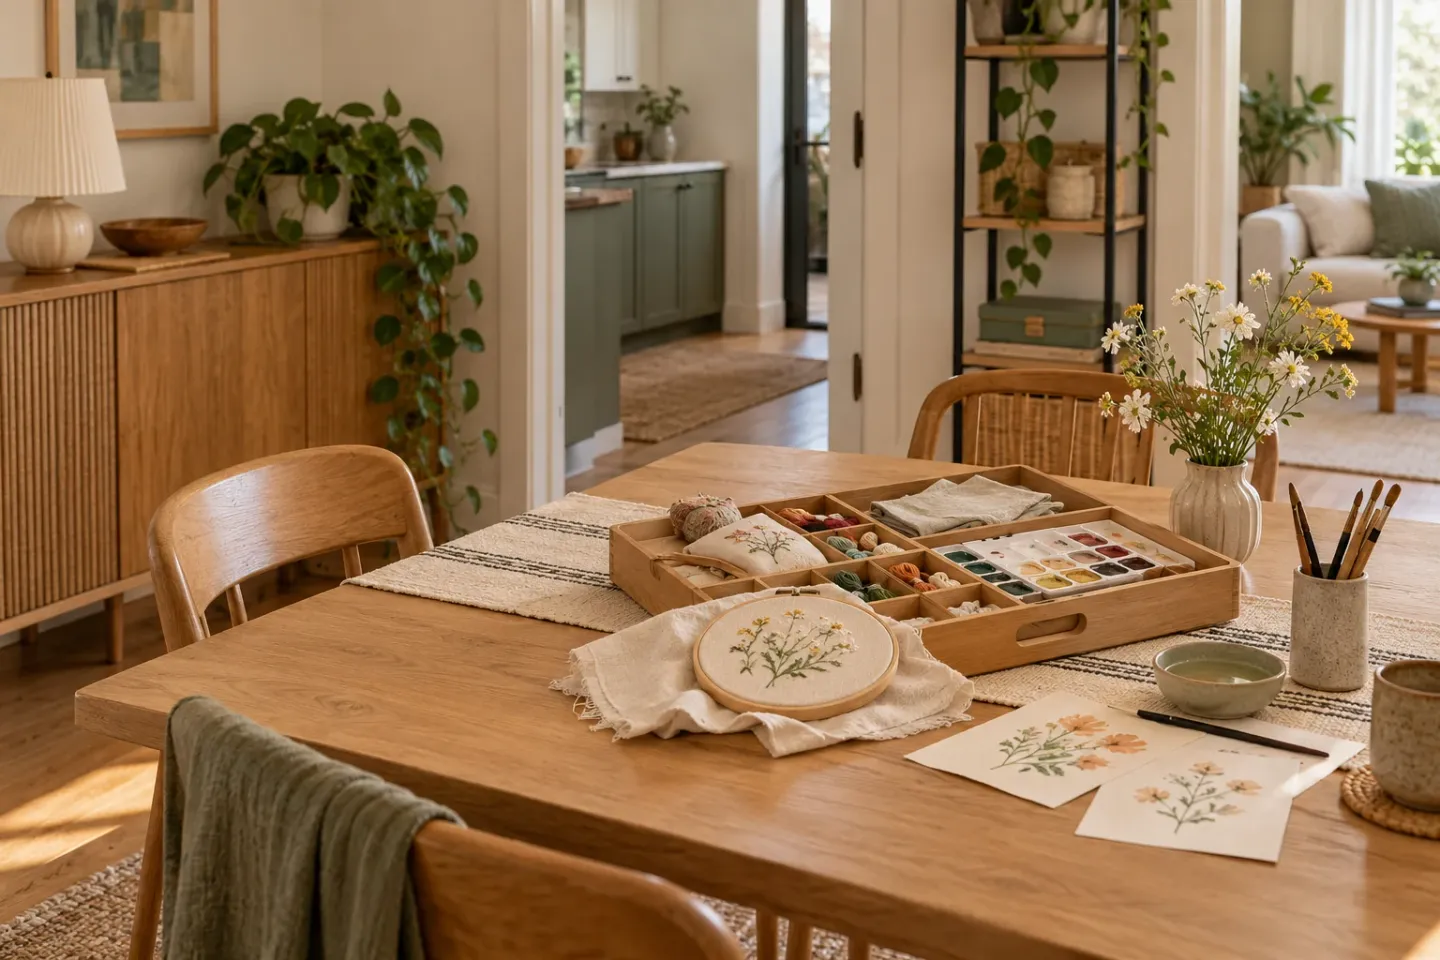
A handled tray turns the dining table into a temporary work zone that clears quickly for meals. Choose a comfortably liftable tray with a shallow rim and flat bottom, large enough for your active project and essentials. For watercolor, use a washable mat and stable water vessel; empty and dry the vessel before packing, and let paint and brushes dry according to their instructions. For embroidery, contain needles in a pouch or lidded tin, and keep sharp tools out of children’s reach during use and storage. Check that the loaded tray fits its storage space, and split an awkward load between two lighter containers.
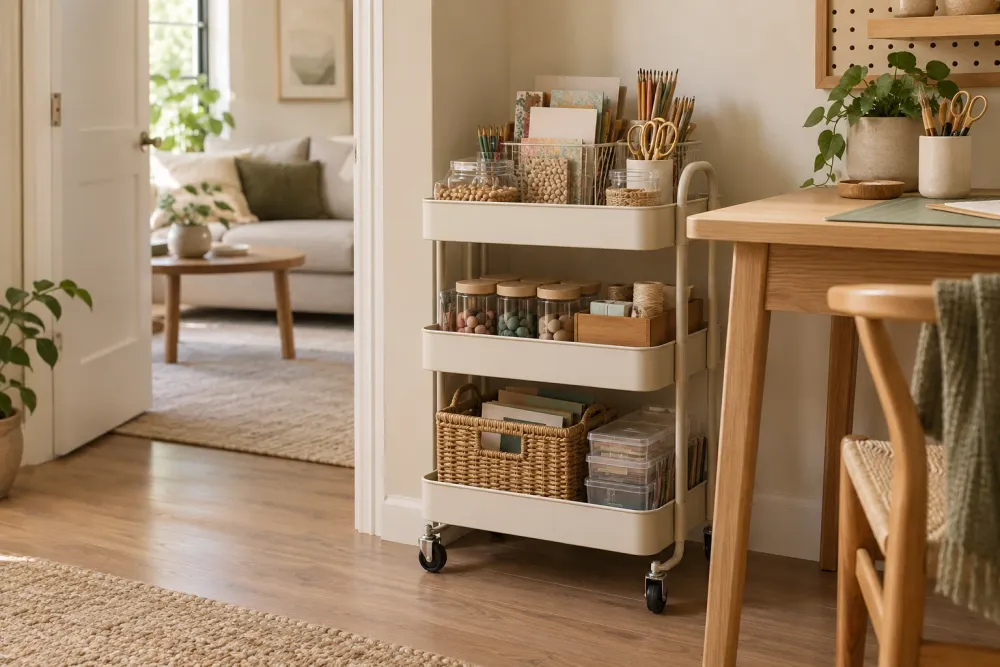
2. Dry-supply cart
A rolling cart suits several categories of dry supplies that move between a sofa, table, and storage spot. Give each tier a job: paper below, divided tools above, and the current project in a removable bin. Place heavier supplies low, follow the cart’s load rating, and lock the wheels while working if locks are provided. Before buying, check its working and parked footprints, including handles, wheels, overhanging bins, and the route around furniture and through doorways. Use an iron or heat gun on a suitable open surface according to its manufacturer’s instructions, never inside the cart; unplug and cool it fully before storage.
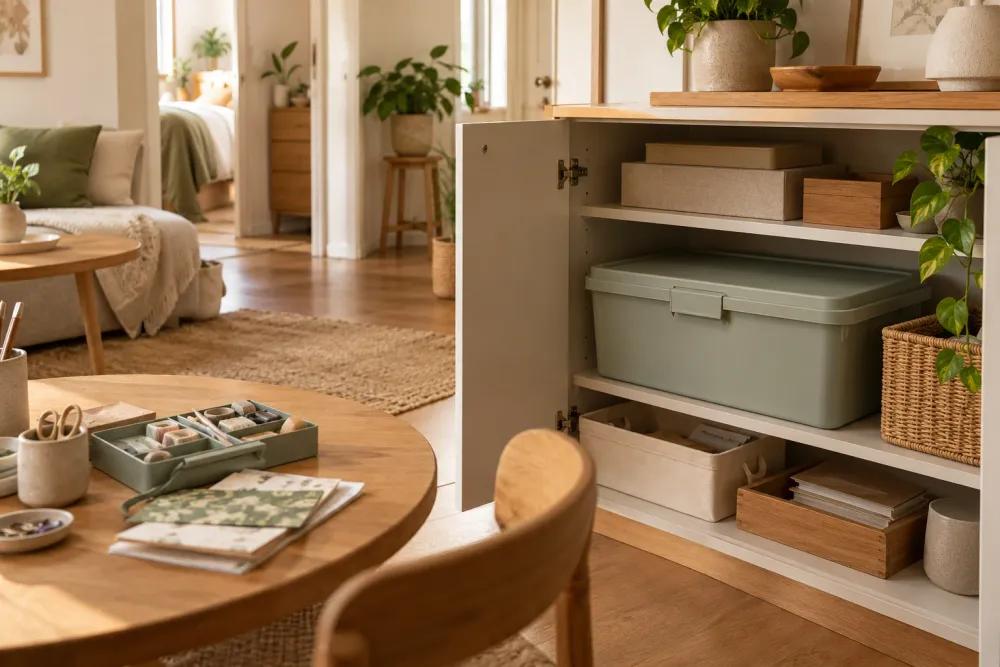
3. Cabinet shelf
A cabinet shelf keeps supplies out of sight when you already have somewhere to work. Group them by retrieval: use a flat folder for paper, a tool container, and a separate box for unfinished work, with labels facing outward. Check the usable shelf space and cabinet opening, since hinges or frames may narrow access; containers should clear any shelf lip without tipping. Keep everyday items within comfortable reach and lighter, less-used supplies toward the back. Store only dry supplies, respect shelf load limits, and avoid unstable heavy stacks; operate heat appliances outside the cabinet and leave cooling equipment on an appropriate open surface.
4. Knitting basket
A knitting basket beside an armchair keeps an active project close without turning the seating area into storage. Choose a smooth interior, or add a removable liner to rough woven material, and use a zip pouch for markers, a tape measure, and blunt finishing needles. Protect sharper tools in a separate sleeve. Place the basket within reach but clear of the space needed to stand and walk; a soft-sided shape may fit a narrow gap without blocking the route. A shaded task light can make stitches easier to see, provided its cord stays out of walkways and you follow its bulb and placement instructions.

5. Fold-away surface
A fold-away surface provides more room than a tray without requiring a permanent craft table. A folding table can be stored alongside furniture or in a closet, while a wall-mounted drop-leaf surface keeps the floor clearer when closed; compare setup effort as well as appearance. Check the open footprint, including legs, chair space, doors, and walking routes, as well as the folded dimensions and protruding hardware. For wall mounting, obtain landlord permission where required and use a properly installed, manufacturer-rated system suitable for the wall, not improvised or adhesive fixings. Follow load limits and appliance instructions, using heat tools only on a suitable open surface.
6. Lidded project box
A lidded box keeps a paused paper model, sewing pattern and cut pieces, or reference collection together between sessions. Keep one project per box where possible, and add a note naming the next step so it is easy to resume. Choose around the largest piece, considering usable interior space as well as the lid and handles; a rigid box or flat portfolio protects pieces that should not bend. Dividers or envelopes corral smaller components. Make sure the filled box can be retrieved safely through its storage opening, and enclose only dry materials after glue and paint have dried according to their instructions.
7. Desk drawer kit
A desk drawer kit suits small-scale lettering, collage, or mending that shares tools with ordinary desk work. Use low dividers in one shallow drawer, with frequent supplies near the front, and lift a pencil case of essentials onto the desk when needed. Check interior dimensions, obstructions beneath the desktop, and how far the drawer opens so every section remains reachable. Cover or contain sharp tools, protect the desktop with a removable mat suited to your materials, and leave enough clear working space. Return dry supplies after each session and discard scraps appropriately; pair the kit with a dining-table tray when a project needs more room.
Your first refresh
Set aside a short session to gather supplies for the craft you want to do next. Remove rubbish and return unrelated items to their homes. Measure a work spot and storage location, then test the footprint before choosing a container. Build a temporary kit from a suitable tray, basket, or box you own; contain sharp tools and keep damp materials out of enclosed storage. Try packing away, adjust awkward contents, and only then consider buying storage.
Questions before you start
Which craft corner is easiest to pack away before dinner?
A handled tray is usually the simplest starting point if your project fits and the loaded tray is comfortable to carry. Keep active materials together, empty any water, and move the tray to a measured storage spot. A lidded box may better protect loose pieces.
Can I keep a glue gun or craft iron in my cabinet kit?
Store the appliance only after it is unplugged and completely cool, provided its instructions permit that storage. Operate it on a suitable open surface, never inside a cabinet or cart. Keep only dry supplies in those spaces, and follow the manufacturer’s instructions.
How can I add a fold-away surface as a renter?
A freestanding folding table avoids wall installation, but check both its open and stored footprints. For a wall-mounted surface, check your lease and obtain permission if required, then use a properly installed, manufacturer-rated system. Removable mounts are not necessarily damage-free or suitable worktop supports.
Where should the craft kit go when I put up Christmas decorations?
Move the packed kit to a measured shelf or another accessible spot outside walking routes. When arranging a tree or lights, preserve exits and heater clearance, and follow manufacturers’ placement and use instructions. Do not improvise weight-bearing fixings to make room for decorations.
Keep planning your space
For help fitting a temporary craft spot around seating, explore our narrow living room layout ideas. If your favorite project happens in an armchair, pair the basket approach with a small reading nook. For seasonal changes, see Christmas decor for small apartments.