7 Small Coffee Station Ideas That Keep Counters Clear
Seven small coffee station ideas that make room for your daily brew without giving up the whole counter.
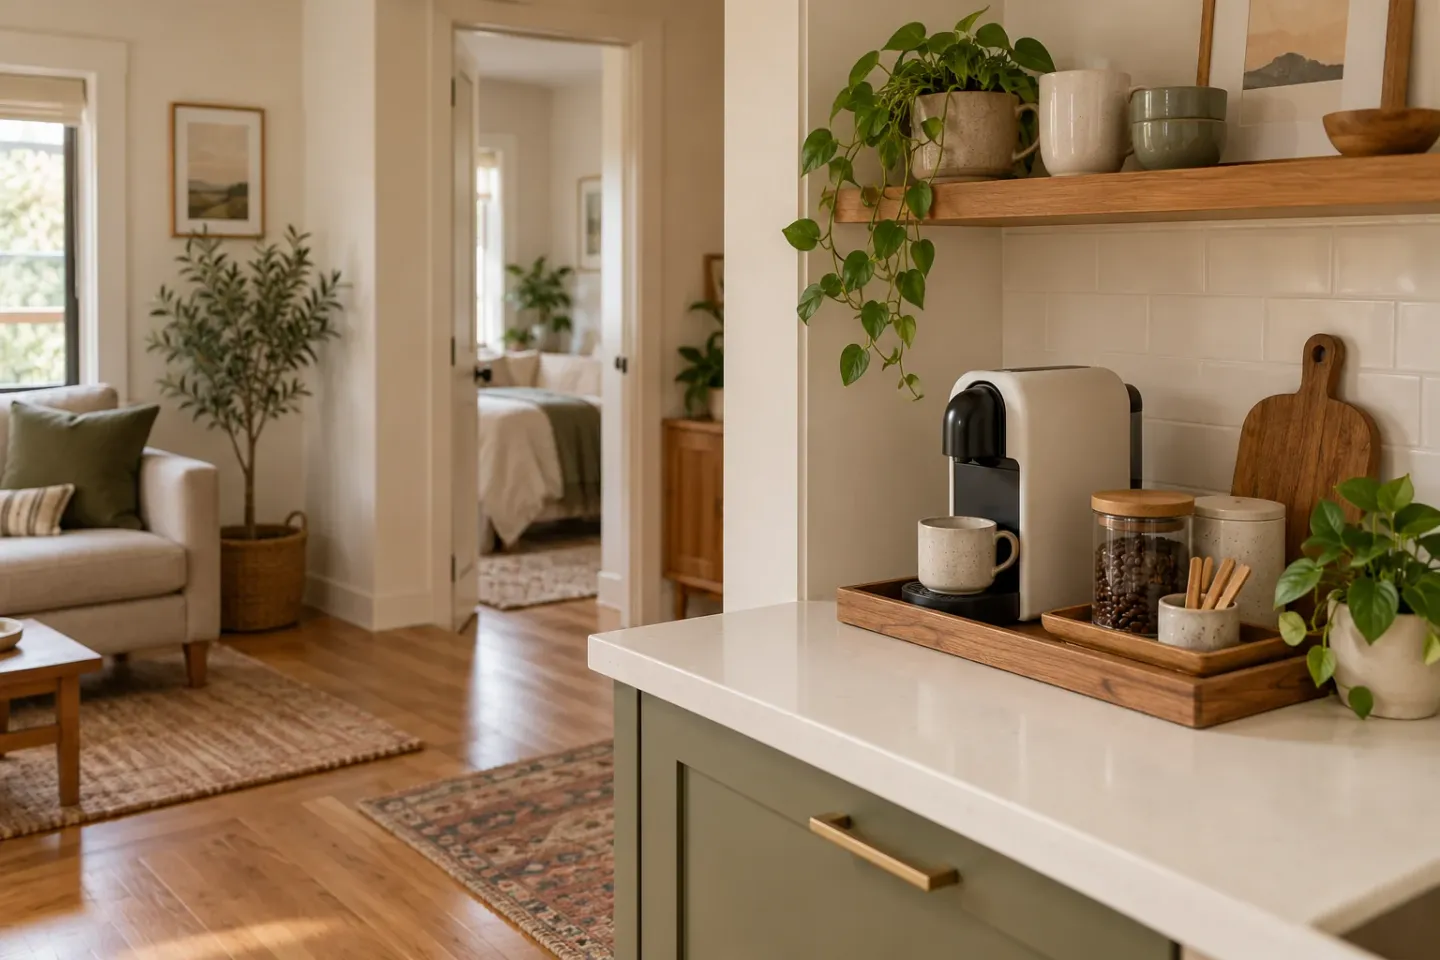
A small coffee station should earn its footprint. Start with the drink you make most often, then give its essentials a convenient home instead of gathering every mug and gadget in one place. These seven setups use surfaces and storage you may already have. Compare their tradeoffs, protect the required operating space, and choose an arrangement that suits your routine.
Before you rearrange: a practical checklist
Before you set up
- Measure usable surfaces and appliance operating dimensions, including open lids and removable parts.
- Follow manufacturer requirements for surfaces, ventilation, clearances and cord placement.
- Tape the footprint and test work areas, doors and drawers.
- For a cart, include handles and casters in parked and working footprints, and check its route.
- Check storage openings and interiors, allowing room to lift items out.
- Check lease terms and mounting ratings for hooks; keep exits and walkways clear.
Compare the options
| Setup | Best when | Main tradeoff | Check first |
|---|---|---|---|
| One tray | Essentials fit near brewer | Visible clutter | Tray suitability |
| Existing sideboard | Counters are busy | Water and cleanup trips | Stable top and outlet |
| Narrow counter end | Sink access matters | Competes with prep | Usable space and lid |
| Dry-supply cart | Refills need flexibility | Uses floor space | Full footprint and route |
| Permitted mug storage | Cups crowd surfaces | Open mugs collect dust | Lease and load rating |
| Single brewer | One method suffices | Less variety | Clearance and access |
| Pack-away manual kit | Counter has multiple jobs | Setup and drying | Storage opening |
1. Make a one-tray small coffee station
A tray gives daily essentials a clear boundary without requiring a permanent installation. Choose a wipeable tray that holds your mugs, a small jar of coffee and a scoop, with room to lift each item; a shallow rim can contain crumbs. Store backup filters and supplies in a cupboard rather than enlarging the arrangement. Check the brewer manufacturer’s surface, ventilation and clearance instructions before placing the appliance on a tray; if the tray is unsuitable, keep the brewer on an appropriate open surface and use the tray for dry accessories. The tradeoff is visibility: an open display needs regular editing.
2. Borrow an existing sideboard
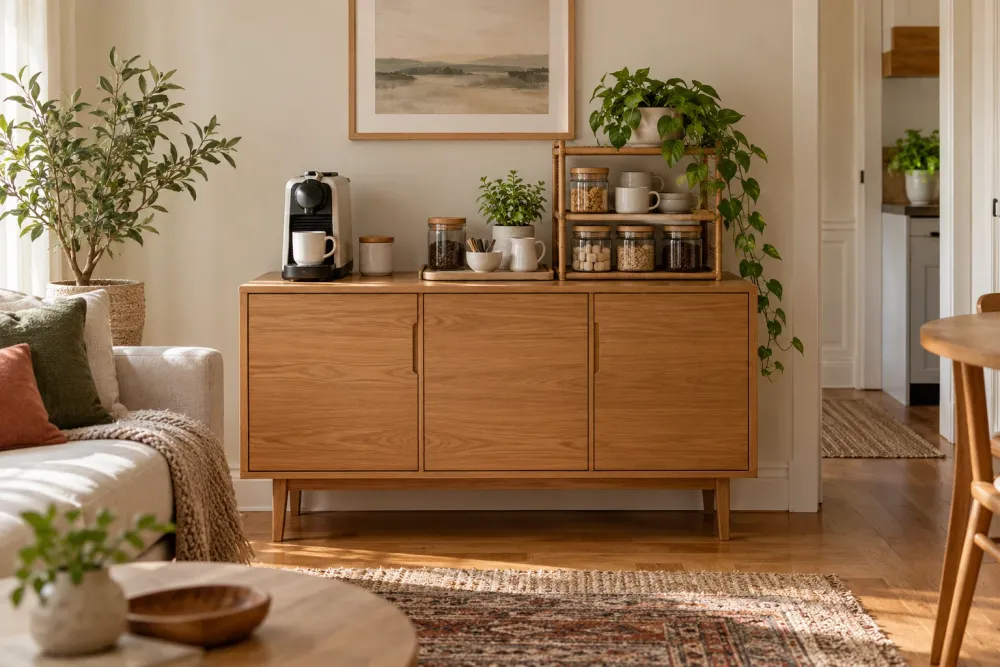
An existing sideboard can move coffee preparation off a crowded kitchen counter, especially if it is near an appropriate outlet. Confirm that its top is stable, level and suitable for heat and moisture under both furniture and appliance instructions, and operate the brewer on the open top rather than inside a cabinet. Check manufacturer clearances and access to the open lid and removable parts, and route the cord without stretching it across a walkway or trapping it behind furniture. Store dry supplies and spare mugs below, perhaps in a shallow bin. Extra storage is useful, but carrying water and cleaning drips may mean more trips.
3. Claim a narrow counter end
An awkward counter end can hold a compact setup if it leaves the kitchen’s working areas functional. Consider the usable surface around the sink, cooktop, outlets and cabinet overhangs, rather than relying on the countertop’s outside dimensions. Allow for the brewer’s required clearance, open lid and removable parts, as well as nearby doors and drawers. Keep only the next mug and a short supply of coffee beside the machine, with refills in a dry cupboard. This setup keeps water and the sink close, but it is unsuitable if it crowds a heat source or blocks food preparation.
4. Roll out a separate dry-supply cart
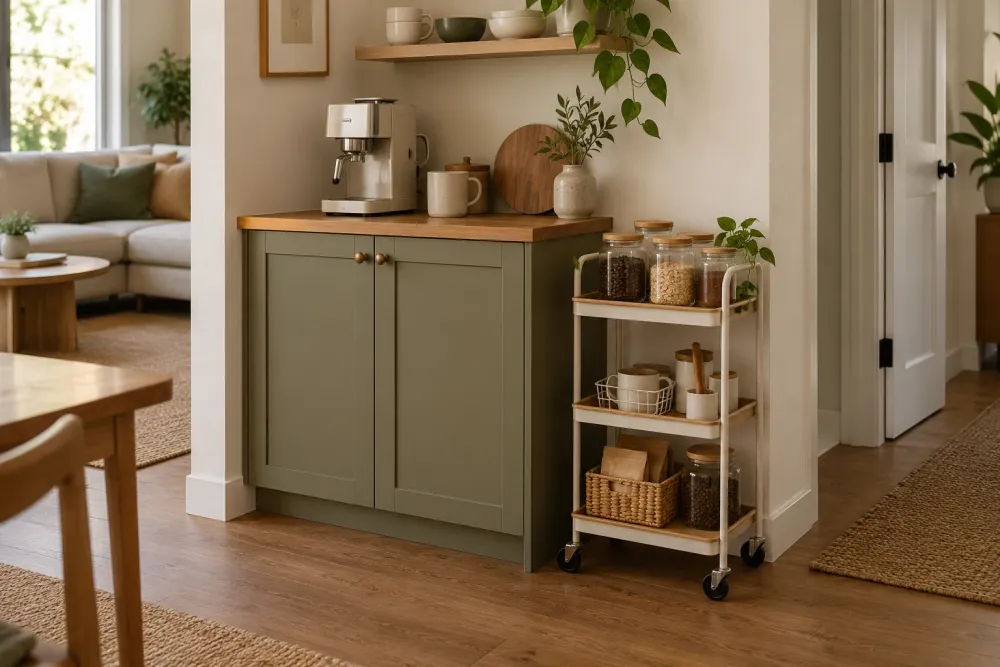
A slim cart can hold clean mugs, sealed coffee, filters and cloth napkins while the brewer operates on a suitable open surface elsewhere. Put frequent supplies on an easy-to-reach shelf and refills lower down, using a bin to keep small packages upright. Include handles and casters when checking its footprint in both parked and working positions, and check door swings and tight turns along the route. Use locks when parked if provided, but do not rely on them to compensate for an unstable cart or uneven floor. The flexible storage can suit a rental, although wheels and handles take up space.
5. Choose permitted mug storage
Keep only the mugs used between washes near the station and store occasional pieces with other dishes. A cupboard shelf, freestanding rack or sturdy tray may be sufficient without adding wall fixings; a shelf riser can separate mugs and saucers if it fits inside the cabinet. For hooks or a rail, first check your lease, the mounting instructions and the weight rating, including the holder and every mug in the load. Mount only on an approved surface and avoid improvised weight-bearing fixings; removable mounts are not automatically damage-free or suitable for heavy loads. Hanging saves shelf space, while cupboards protect mugs from dust.
6. Build around a single brewer
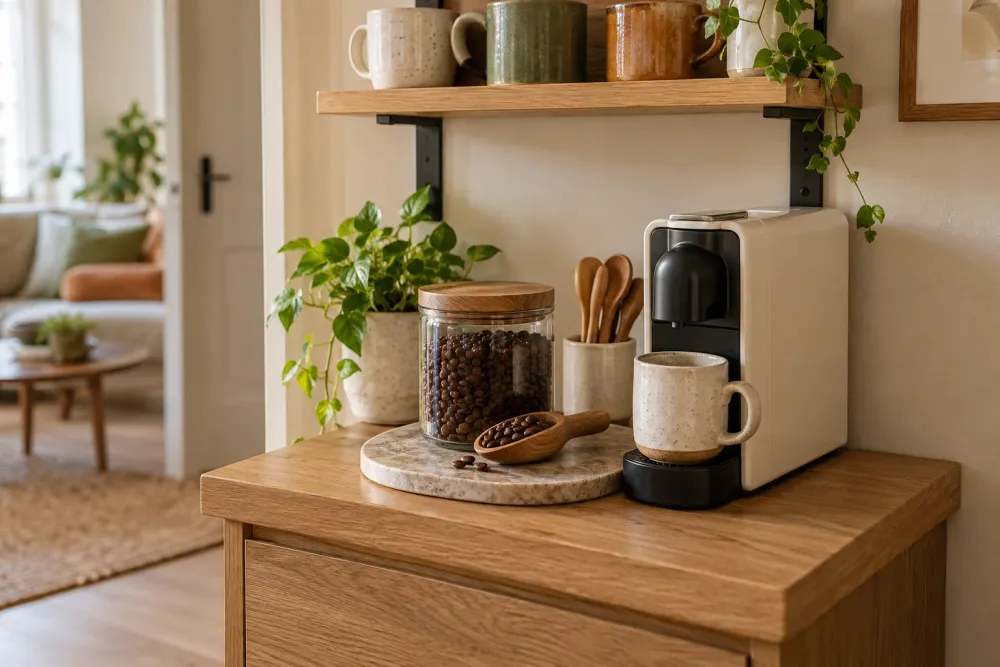
If one appliance makes your usual drink, give it priority and move seldom-used equipment out of the daily setup. Choose a suitable open operating surface with the manufacturer’s specified clearance and enough access for the raised lid, reservoir and drip tray; do not run the brewer inside a cabinet or cart, even with its door open. Keep the day’s coffee and a mug handy without crowding vents or controls, and store sealed refills dry. Consider how you will fill and clean the machine, especially away from the sink. This setup is straightforward and quick, but offers less variety at hand.
7. Pack away a manual coffee kit
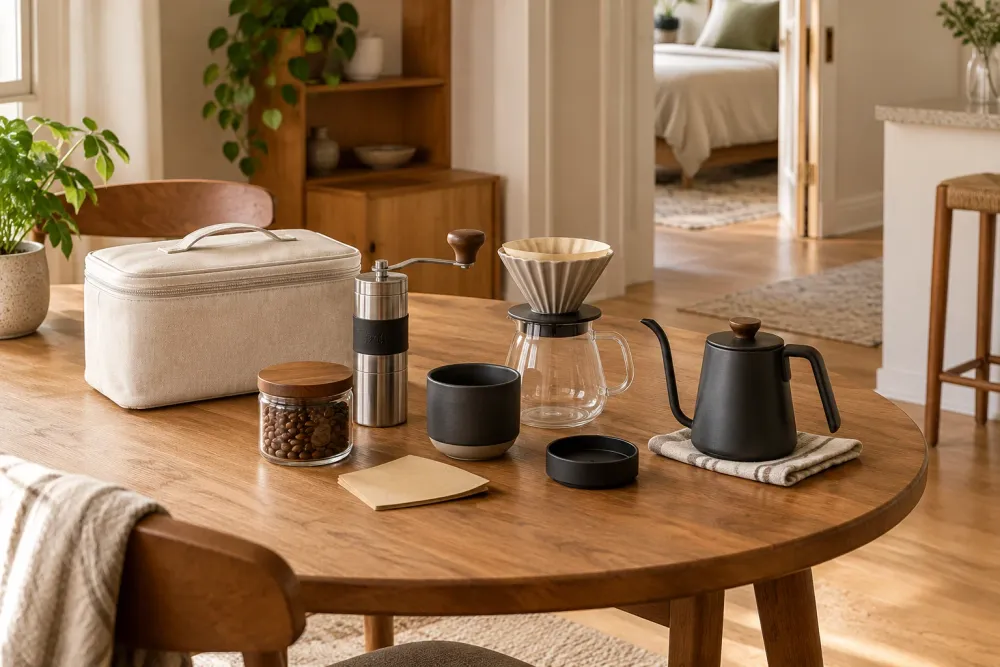
A manual kit lets the counter return to other work after breakfast. Gather a dripper or press, filters, scoop and small coffee container in a handled bin that fits through the storage opening and inside the cabinet or shelf. Keep the kettle separate if its size, heat or instructions make it unsuitable for the bin, and operate heat appliances on an appropriate open surface. A divider can protect a delicate dripper, while a washable cloth catches grounds; let equipment cool and dry before storing it. This frees visible space but adds setup and drying time. The accompanying imagery shows illustrative concepts, not real renovations.
Your first refresh
On day one, sort supplies into daily use, occasional use and refills. On day two, measure the space and equipment, tape out the operating footprint, and test nearby doors and work areas. On day three, try containers you already own. On day four, make your usual drink and note awkward reaches or drips. On day five, adjust a troublesome item or storage spot. At week’s end, keep what works.
Questions before you start
Where can I put a coffee station if my kitchen counter is full?
Try a stable sideboard with a suitable open top and appropriate outlet, or store a manual kit nearby and bring it out when needed. Follow appliance instructions and consider water and cleanup trips. A cart can hold dry supplies, but should not operate the brewer.
Can I put a coffee maker inside a cabinet to hide it?
Store a cool, dry appliance in a cabinet only if its instructions permit, but move it to a suitable open surface before operating it. Check the manufacturer’s ventilation and clearance requirements, including room to open the lid and access the reservoir and other removable parts.
How many mugs should stay at a small coffee station?
Keep the mugs your household uses between washes within easy reach, and store occasional pieces with the rest of your dishes. If hanging mugs, check your lease and the mounting instructions, and include both the holder and every mug when calculating the load.
How can I add Christmas decor near my coffee station safely?
Keep decorations away from hot surfaces, steam and controls, and move them elsewhere if they reduce the appliance’s required operating space. Follow the manufacturer’s instructions for any listed lights, and keep cords, trees and other decorations clear of heaters and exits.
Keep planning your space
Planning the surrounding room too? Explore a narrow living room layout for a workable sideboard or cart position, or borrow display ideas from renter-friendly wall decor. For seasonal styling around a compact setup, see Christmas decor for small apartments. Each guide offers ideas for making the surrounding space work alongside your coffee setup.